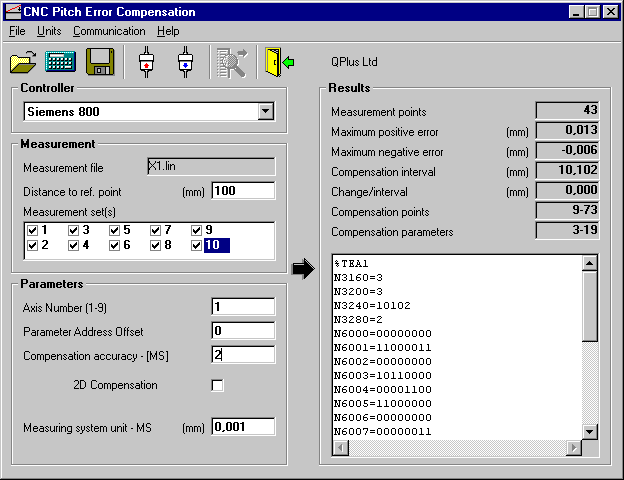
Measurement File OptionsMeasurement file options are the same for all the controller types. Reference point is the distance between machine tool axes reference point and the start point of the measurement. If measurement file includes several measurement runs (sets) they all are listed in a Measurement set(s) listbox. It is possible to select just one or several sets for the compensation. If more than one set is selected the average of all selected measurement sets are used for the compensation. Parameter OptionsAxes Number Parameter Address Offset Compensation accuracy 2D Compensation Measuring System Unit [MS] Unit can be set separately for each axis. Unit is defined in machine tool parameter MD1800 with bits 0-3, which define position control resolution. Standard machine data for parameter MD1800 bit 0-3 is 0100, which means that MS is 0,001 [mm]. Legal values for MS are 0,1 0,01 0,001 0,0004 0,0001 and 0,00001 according the following table [Reference: Siemens Sinumeric 840C Axis and Spidle Installation 10.2.4 Resolution Codes - Siemens AG 09.95]:
The compensation accuracy is handled on the given MS unit. For example if the compensation accuracy is 4 and measuring system unit is 0,001 then the calculation uses compensation accuracy of 0,001 x 4 = 0,004. CalculationThe calculation is done by pressing the CALCULATE toolbar button. ResultsCalculation results are shown on the right side of the form. The actual compensation file format is shown on the lower right corner of the window. Saving the compensation parameter fileCompensation parameter file is saved by pressing the SAVE toolbar button after which the save file dialog is opened. Sample screen
|
